Raspberry buttermilk tartlets

Tags:
alcohol-free
Description
Raspberry and buttermilk = heavenly! And the whole thing wrapped up as a cupcake means even more heavenly, right? Do you fancy this irresistible pastry? Then get your tartlet moulds ready!
Our tartlets have a shortcrust base, a deliciously fruity filling and a melt-in-the-mouth coating. That's what makes them so unbeatably delicious. See for yourself that we didn't promise you too much!
Zutaten für
For the pastry
20
g
sugar
40
g
butter
60
g
wheat flour
1
Tablespoon(s)
milk
For the mousse
4
Leave(s)
gelatine
40
g
sugar
2
Tablespoon(s)
water
100
g
rapsberries, frozen
150
ml
buttermilk
100
ml
cream, cold
For the coating
50
g
butter
100
g
couverture, white
50
ml
cream
decoration to taste
Preparation
Prepare the pastry
1
Knead the sugar, cold butter and flour with the milk into a shortcrust pastry and chill for 30 minutes. Preheat the oven to 160°C convection oven.
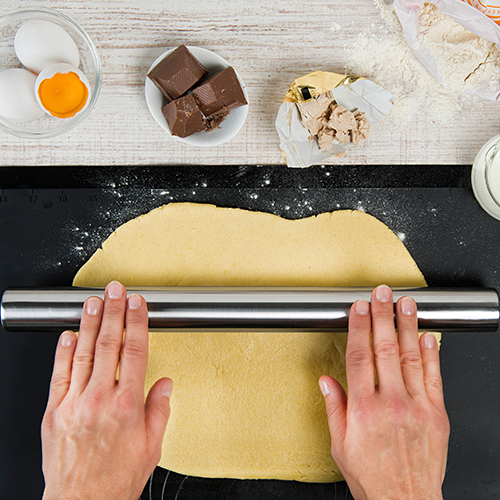
2
Roll out the short pastry thinly and cut out six circles 7 cm in diameter. Weight down the short pastry circles and bake for 20 minutes. Then leave to cool briefly.
Prepare the mousse
1
Soak the gelatine in cold water. Caramelise the sugar with water. As soon as the sugar turns slightly brown, add the raspberries, simmer for a short time and remove the pan from the heat.
2
Press the cooked raspberries through a sieve. Dissolve the gelatine in the warm raspberry pulp. Add the buttermilk and stir until smooth.
3
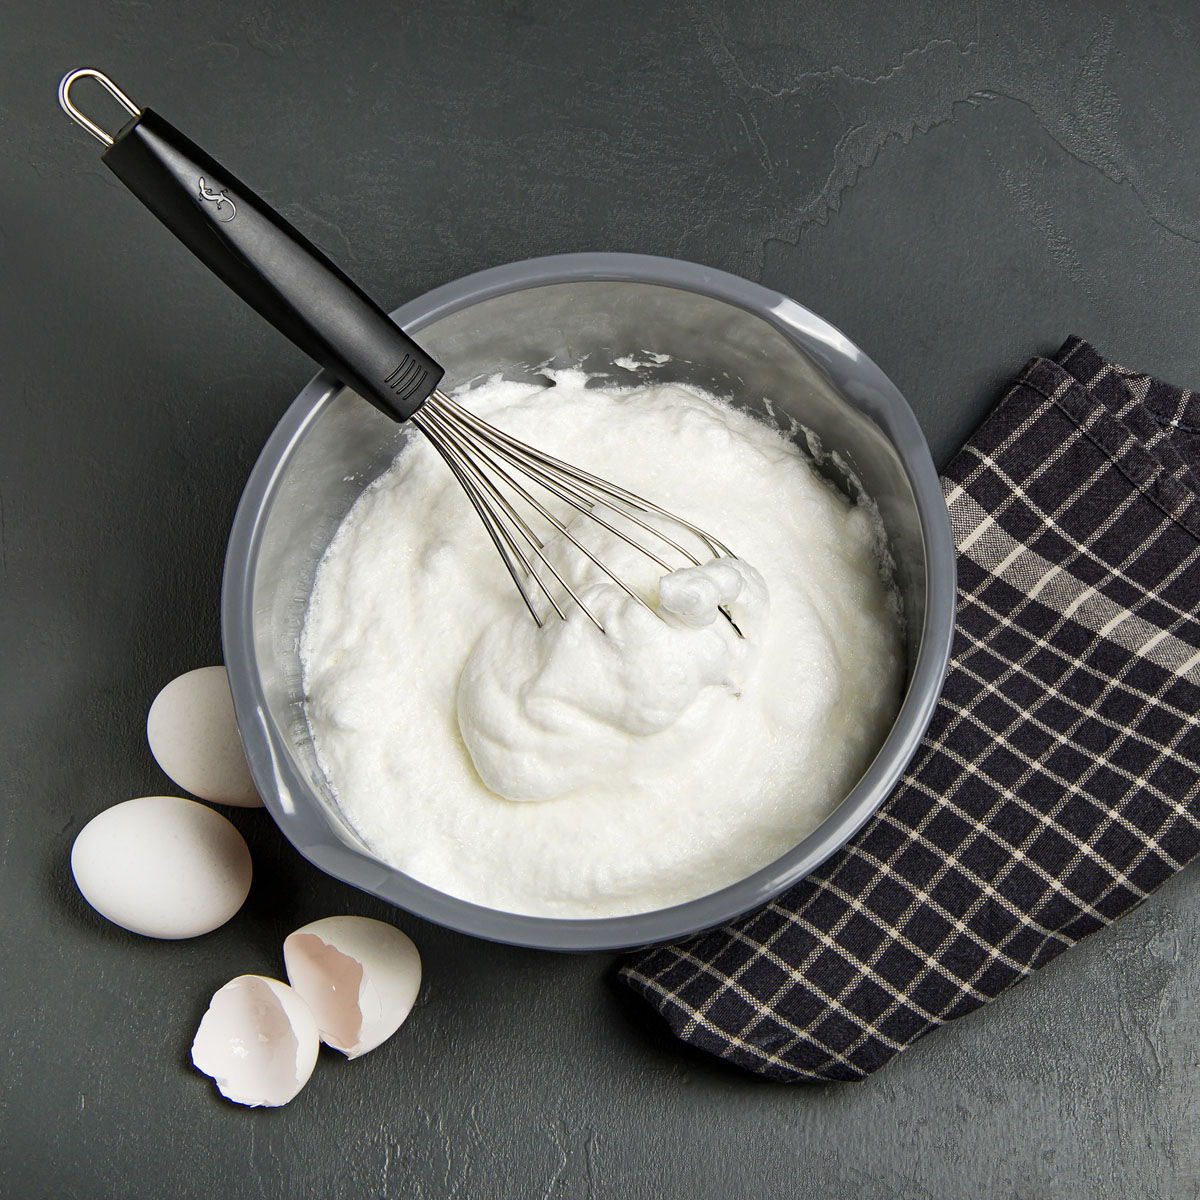
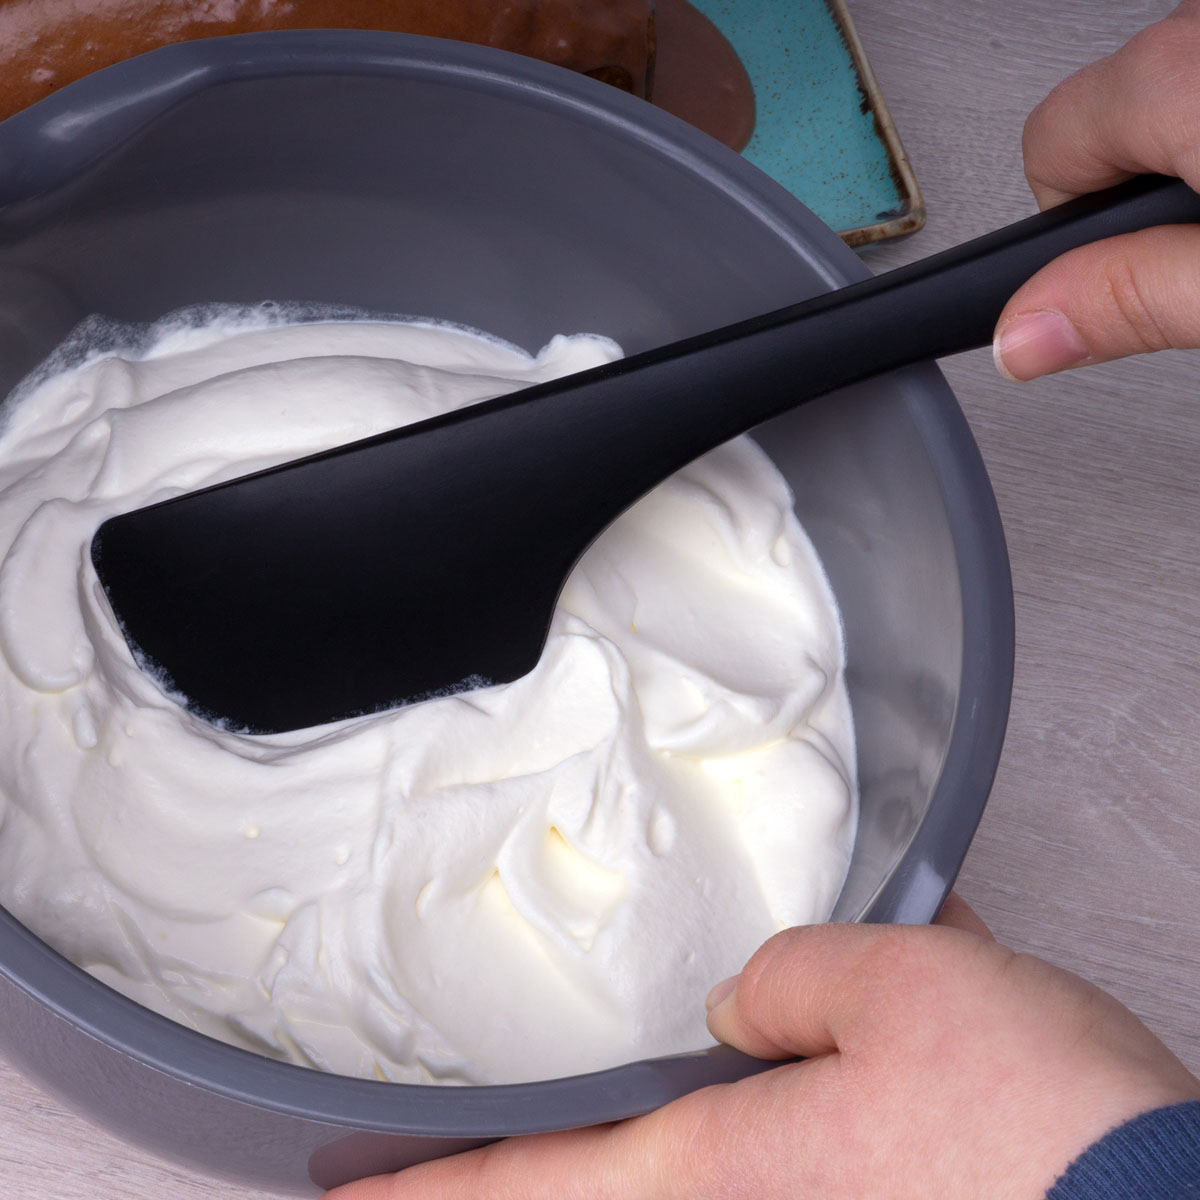
Whip the cream until stiff and carefully stir into the raspberry buttermilk.
IMPORTANT: The raspberry buttermilk mixture must not be too warm and should at most still be at room temperature.
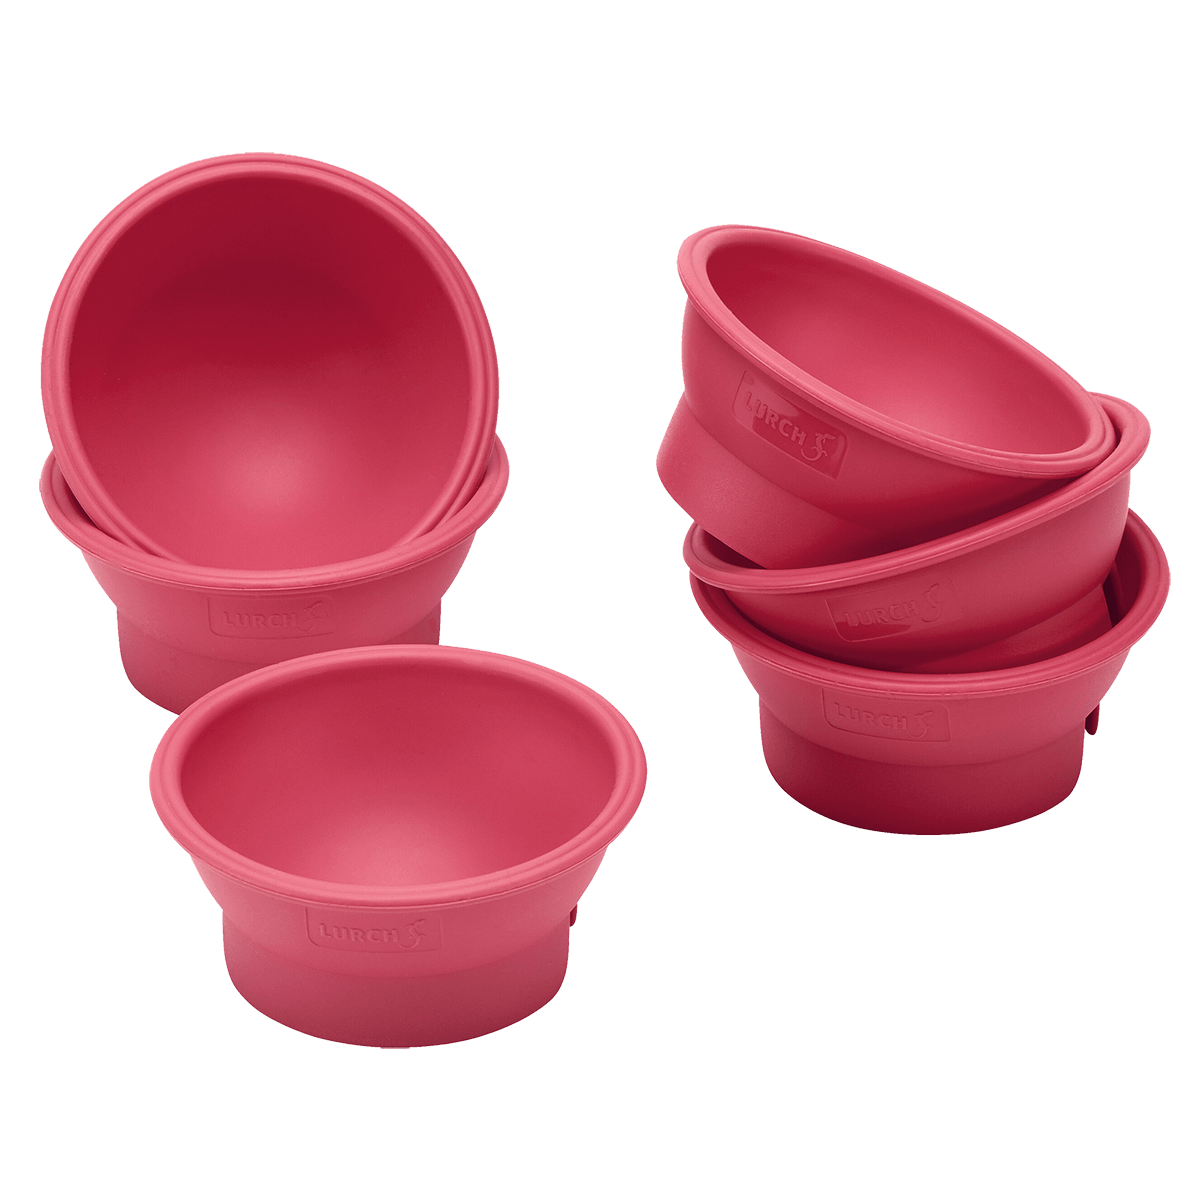
4
Pour the mousse into the hemispherical moulds, place a cooled short pastry base on top and allow the mousse to set briefly. Then freeze for 6 hours (preferably overnight).
Prepare the coating
1
Chop the white couverture and place in a bowl with the butter. Heat the cream and pour over the couverture. Wait 3 minutes and then stir until smooth.
2
Remove the mousse hemispheres from the moulds. Carefully pour the chocolate coating over the frozen mousse hemispheres. Then leave to defrost for at least 30 minutes and decorate as desired.
3
Tip: The coating of the hemispheres works well if the individual hemispheres are placed on a small grid or e.g. several shish kebabs over a collecting container (lunch box or similar). This way, you can simply pour the liquid chocolate mixture over the cupcakes and repeat the process with the collected chocolate for each cupcake.
Zutaten für
For the pastry
20
g
sugar
40
g
butter
60
g
wheat flour
1
Tablespoon(s)
milk
For the mousse
4
Leave(s)
gelatine
40
g
sugar
2
Tablespoon(s)
water
100
g
rapsberries, frozen
150
ml
buttermilk
100
ml
cream, cold
For the coating
50
g
butter
100
g
couverture, white
50
ml
cream
decoration to taste